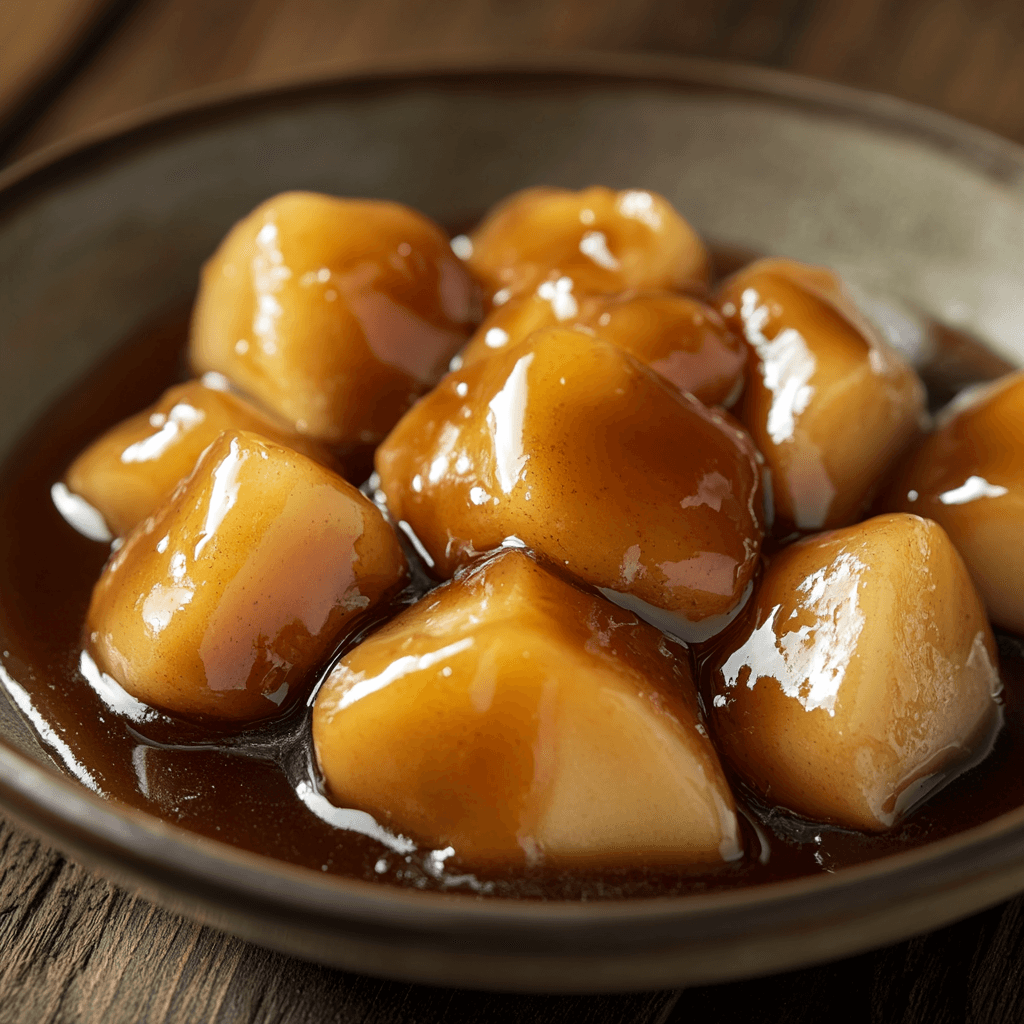
Caramelized apples are not just a scrumptious dessert; they are a delightful addition to any meal. Whether you serve them on pancakes, over ice cream, or as part of a savory dish, understanding how to perfectly caramelize apples can elevate your culinary skills. In this article, we will explore how to caramelize apples effectively, choose the right apple varieties, and discuss techniques to enhance their flavor and texture. Let’s dive into the sweet and savory world of caramelized apples, ensuring you master this delectable treat!
Ingredients and Instructions
To create the perfect caramelized apples, you need a balanced combination of ingredients. Below is a detailed table summarizing what you will need, along with helpful notes on substitutions and variations:
| Ingredient | Amount | Notes |
|---|---|---|
| Apples | 4 medium | Choose firm varieties like Granny Smith or Honeycrisp for optimal results. |
| Butter | 4 tablespoons | Unsalted is recommended to control the sweetness. |
| Sugar | 1 cup | Brown sugar gives a deeper flavor; white sugar can work just as well. |
| Cinnamon | 1 teaspoon | Optional; it adds a warm spice to the caramel. |
| Lemon Juice | 1 tablespoon | Helps prevent browning and brightens flavors. |
Table of Contents
Step-by-Step Process to Caramelize Apples
Let’s break down the process of making caramelized apples into simple steps. This method is easy, but paying attention to detail is crucial!
Step 1: Prepare the Apples
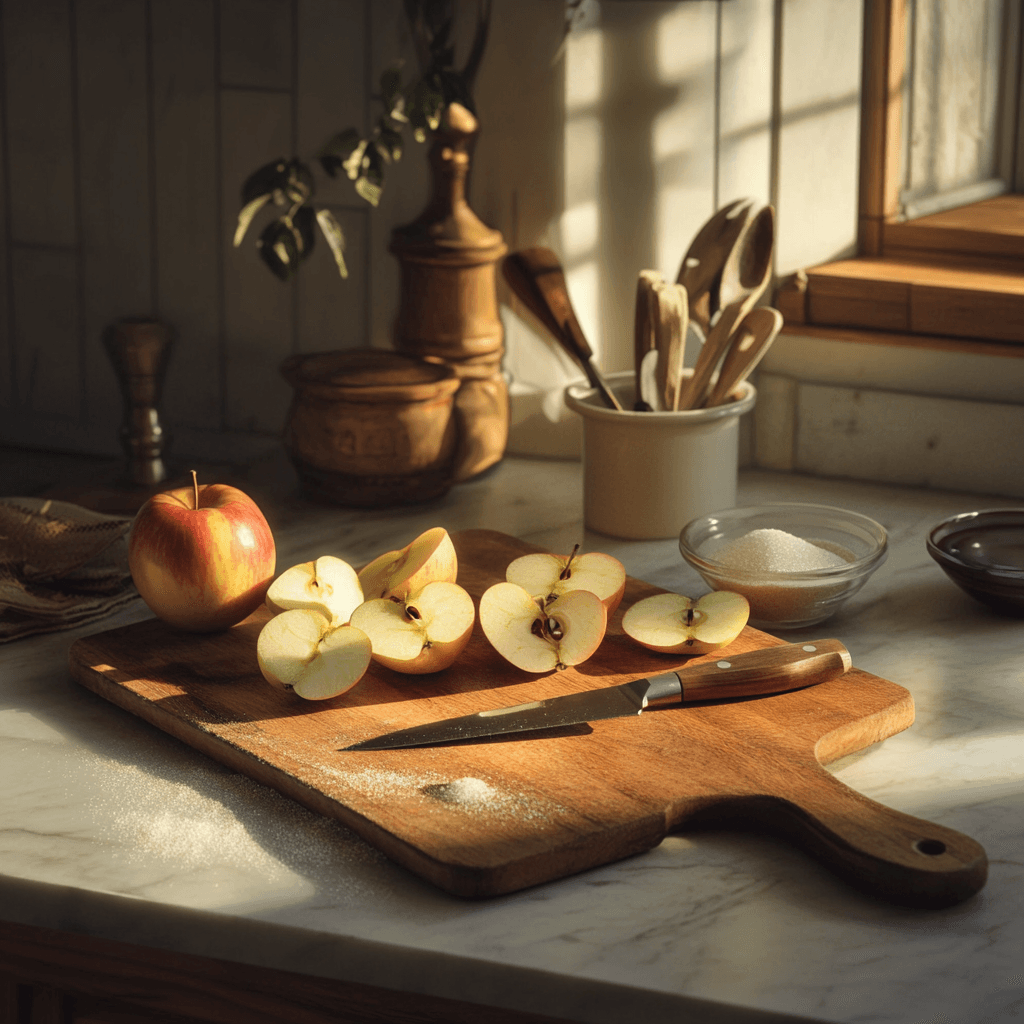
Start by peeling, coring, and slicing your apples into even wedges. Thin slices will caramelize faster, while thicker pieces will offer more texture. For example, if you prefer a rustic feel, cut the apples into larger chunks. This step ensures that the apples cook evenly; uneven pieces can lead to an inconsistent caramelization process.
Step 2: Melt the Butter
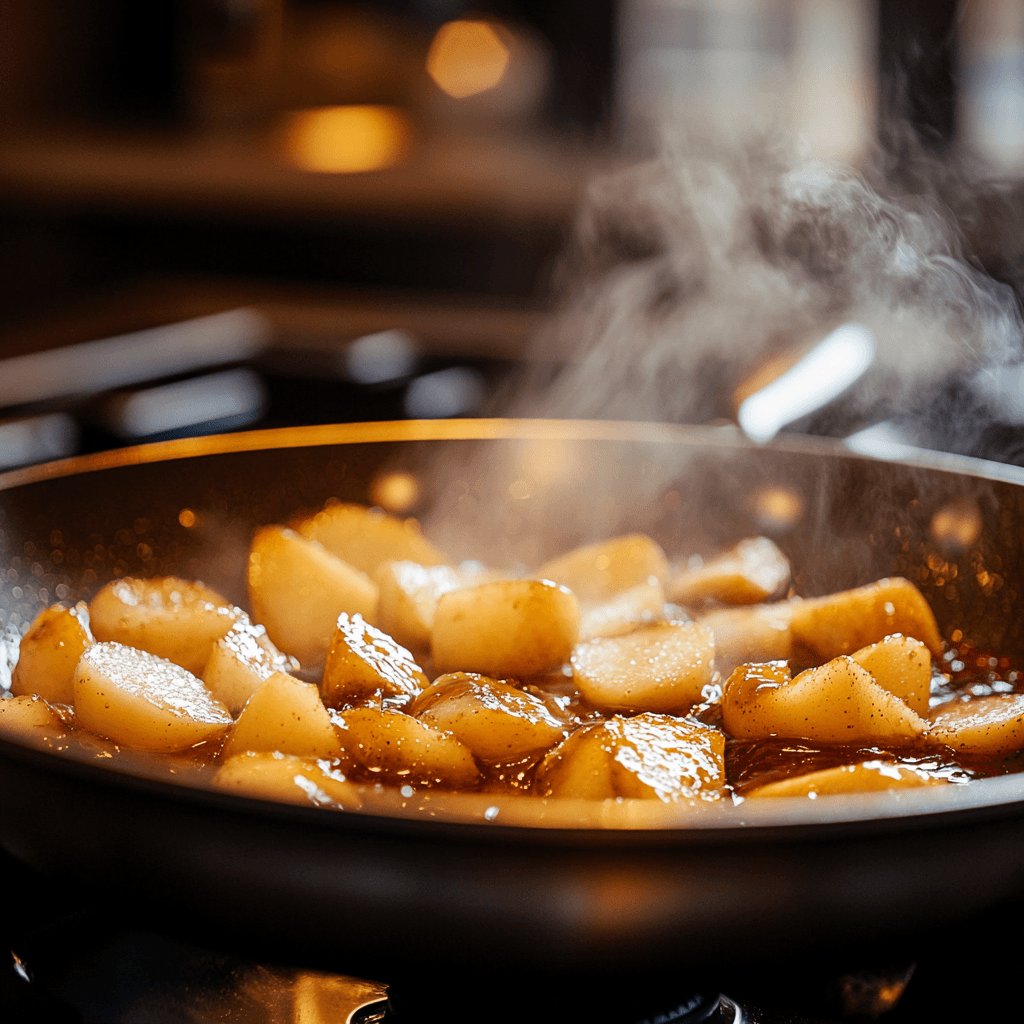
In a large skillet, melt the butter over medium heat. Once the butter is fully melted, add the apple slices to the pan. The butter creates a rich base that helps to soften the apples and allows the sugar to caramelize correctly. Additionally, it prevents the apples from sticking to the pan, making it easier to stir.
Step 3: Sweeten and Flavor
Sprinkle the sugar over the apples, and if you choose to use cinnamon, add it at this stage as well. Gently stir to coat all the apple slices evenly with the butter and sugar mixture. You will notice that the mixture will begin to bubble after a few minutes, indicating that the sugar is starting to melt into a syrupy consistency.
Step 4: Cook the Apples
Allow the apples to cook for about 10 to 15 minutes, stirring occasionally. This is a critical step since you want to achieve a lovely golden-brown color without burning the sugar. If the mixture becomes too thick and starts to stick, add a bit more butter. As the apples cook, they will release some moisture, and the sugar will turn into a sticky glaze that envelops the apples.
Step 5: Add Lemon Juice
Just before the apples reach the ideal caramelized texture, splash in some lemon juice. This addition serves two purposes: it brightens the sweetness of the caramel and prevents the apples from browning too much. The result is a beautifully balanced flavor that complements the rich caramel.
By adhering to these steps, you will create luscious caramelized apples that can be used in numerous dishes.

Choosing the Best Apples for Caramelization
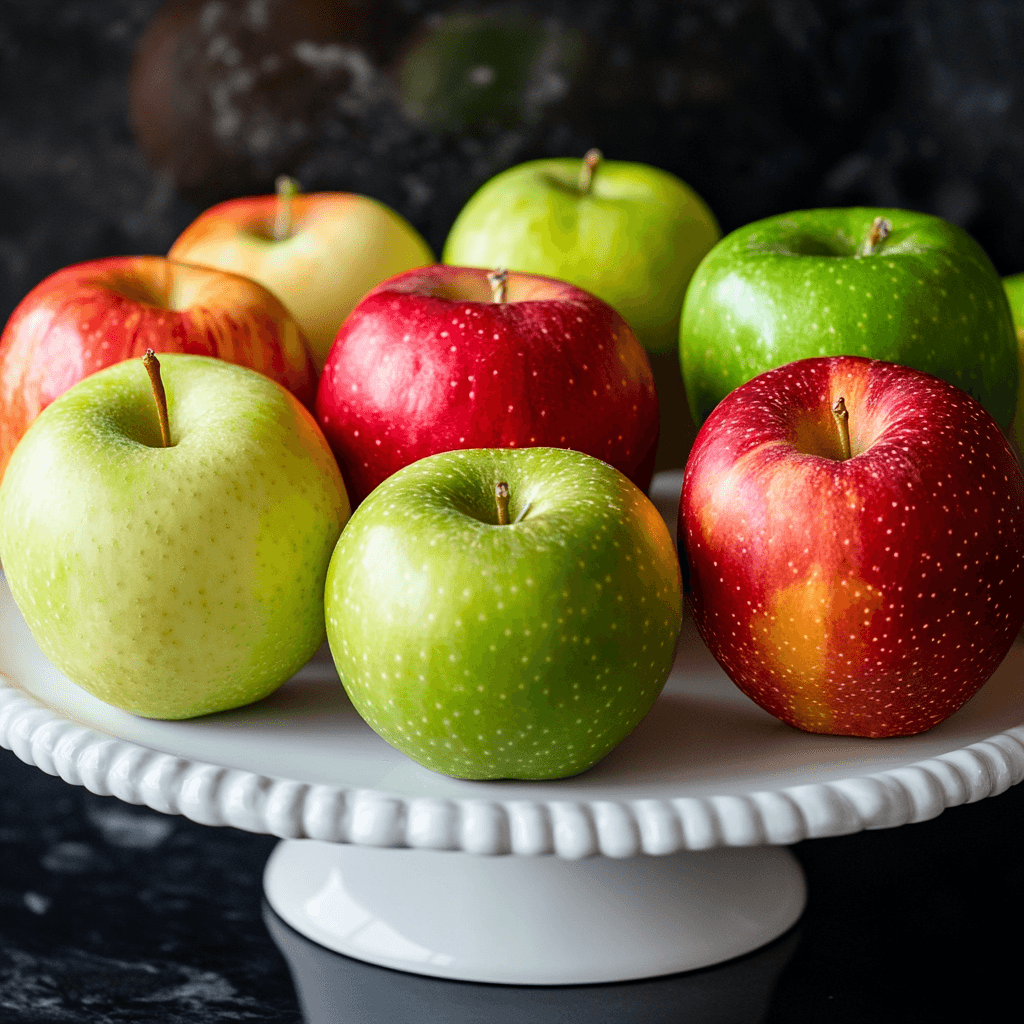
Selecting the right variety of apples is a crucial step in achieving delicious caramelized apples. Different apples have distinct flavors and textures, which affect their performance when heated.
Top Apple Varieties for Caramelizing
- Granny Smith: These tart apples add a delightful contrast to the sweetness of the caramel. Their firm texture enables them to retain their shape and integrity, making them one of the best choices for caramelizing. The tartness helps balance the overall sweetness in the dish.
Honeycrisp: Known for their juicy sweetness and crisp texture, Honeycrisp apples caramelize beautifully. They soften without losing their structure, providing a wonderful bite that many people love. These apples offer a pleasing mix of sweet and tart while enhancing your caramel flavor.
Fuji: Fuji apples are another sweet option, known for their crispness and juiciness. They caramelize well, making them a fantastic choice for those who prefer a sweeter apple in their dishes. The high sugar content in Fuji apples often leads to a more caramelized finish.
Braeburn: With a characteristic mix of sweet and tart flavors, Braeburn apples are versatile in caramelizing. Their firmness means they stand up well to cooking, and they add a unique flavor that elevates your caramelized apples.
Jonagold: This apple variety combines the flavors of Jonathan and Golden Delicious apples. With their pleasant sweet-tart profile, Jonagold apples offer a juicy bite perfect for caramelization. Additionally, these apples have a nice balance of firmness, providing a satisfying texture.
When you choose your apples, consider the balance of flavors you want in your dish. A mix of different apple varieties can also add depth to the taste, as different apples will caramelize uniquely and contribute diverse flavor notes.

Caramelizing Apples on a Stovetop: Techniques and Tips
Using a stovetop skillet is one of the simplest and most effective ways to caramelize apples. This method allows for better control of cooking temperature and caramel outcome, ensuring that you achieve the desired consistency without burning the sugar.
Optimal Skillet Selection
Start by choosing a heavy-bottomed skillet. This type of pan distributes heat evenly and helps prevent hot spots that can scorch your apples. Non-stick skillets can also work well since they minimize sticking during the cooking process, making it easier to manage the consistency.
Temperature Control Tips
Maintaining the right temperature is crucial during the caramelization process. Ideally, you should set the skillet to medium heat at the beginning. If the sugar melts too quickly, it can burn, leading to a bitter taste. Once the mixture starts bubbling, you can adjust the heat down slightly.
Moreover, if you feel the apples are cooking too slowly, you can increase the heat incrementally, while still keeping a close watch. Cooking slowly allows the sugars to caramelize evenly and enhances flavor development.
Cooking Techniques and Tricks
As the apples heat up, you may notice liquid forming in the pan, which is the sugar melting and combining with the apples’ natural juices. Allowing this mixture to cook down until it thickens slightly will result in a rich syrup that beautifully coats the apples, adding depth to your dish.
Another interesting technique is to incorporate a pinch of salt along with the sugar. This seemingly small addition dramatically enhances the overall flavor profile by balancing sweetness, making the caramel taste richer. Furthermore, consider adding a dash of vanilla extract or almond extract during the cooking phase. This infusion can give your caramelized apples a unique twist.
For more delightful recipes featuring apples, dive into a classic apple crisp recipe that showcases the versatility of this fruit in a comforting dessert.

Common Mistakes to Avoid When Making Caramelized Apples
Caramelizing apples might seem straightforward, yet a few pitfalls can lead to disappointing results. Here are some essential tips to help you avoid common mistakes:
1. Skipping the Butter or Suga
Using insufficient butter or sugar can lead to overly dry apples or uneven caramelization. Always use the recommended amounts to ensure balanced flavor and texture. Since butter helps facilitate the process, don’t skimp!
2. Overcrowding the Pan**
If you pack too many apple slices into the skillet, they will steam instead of caramelize. Leave space for the apples to cook evenly. A good rule of thumb is to work in batches if you have many apples.
3. Ignoring Temperature Control
As mentioned earlier, maintaining a consistent medium heat is key. High temperatures can cause the sugar to burn quickly, resulting in a bitter flavor. Instead, take your time, and allow the apples to caramelize slowly.
4. Not Stirring Enough
Make sure to stir your apples frequently, especially at the beginning, when the sugar starts melting. This practice helps prevent sticking and ensures even cooking. While it may be tempting to leave them unattended, your caramelized apples will thank you for the extra attention!
5. Forgetting to Add the Lemon Juice
Omitting lemon juice can cause your apples to develop a brown color quickly and miss the zesty flavor that brightens the caramel. Therefore, don’t forget this vital step; it truly enhances the final product.
By avoiding these common pitfalls, you can ensure a successful outcome every time you make caramelized apples, resulting in that perfect golden hue and delicious flavor.
Pro Tips & Variations for Caramelized Apples
Feel free to get creative! Caramelized apples can be customized in various ways, allowing you to explore new flavors and presentation styles while retaining the delicious qualities of the dish
1. Add Nuts for Crunch
Incorporating nuts, such as toasted pecans or walnuts, can create an excellent texture contrast between the soft apples and the crunch of the nuts. Additionally, consider tossing them in during the last few minutes of cooking to warm them without burning. The added crunch and rich flavor can elevate the overall dish, making it even more enjoyable.
2. Flavor Enhancements
Besides cinnamon, many other spices can elevate the flavor of caramelized apples. Nutmeg, allspice, or even cardamom can give your dish an aromatic twist. You might also consider adding a splash of bourbon or brandy for an adult version that deepens the flavor. This straightforward adjustment brings complexity that can make your dish stand out.
3. Serving Suggestions
Serve your caramelized apples over vanilla ice cream for a delightful dessert that everyone will love. Alternatively, use them to top waffles or pancakes for a luxurious breakfast treat. They can also be a fantastic addition to savory dishes, such as pork chops or roasted chicken, enhancing the meal’s depth and interest.

Frequently Asked Questions About Caramelized Apples
How do you caramelize apples?
Caramelizing apples involves slicing them and cooking them in butter and sugar over medium heat until they become tender and golden. Stir occasionally to ensure even cooking. The process typically takes about 10-15 minutes, resulting in deliciously glossy caramelized apples.
What apples are good for caramelizing?
Ideal apple varieties include Granny Smith for a tart contrast, Honeycrisp for a sweet bite, Fuji for juiciness, Braeburn for balance, and Jonagold for a sweet-tart twist. Each offers a unique flavor that adds depth to your caramelized apples.
How to caramelize apples on a pan?
Begin by peeling and slicing your apples. In a skillet, melt butter over medium heat, then add the apples and sugar, stirring occasionally. Cook until tender and caramelized, about 10-15 minutes. Remember to adjust the heat if necessary to prevent burning.
How do you caramelize apples in Gordon Ramsay’s style?
Gordon Ramsay emphasizes precision and balance in flavor when caramelizing apples. He suggests incorporating a pinch of salt to enhance the sweetness and using high-quality butter. You can also add a splash of vanilla or almond extract for depth. Presentation matters, so consider garnishing with fresh mint or finishing with a sprinkle of cinnamon.
Conclusion
Caramelized apples are a beautifully simple yet sophisticated addition to many dishes. By selecting the right apple varieties, mastering the cooking techniques, and avoiding common pitfalls, you can easily create this delicious treat. Be sure also to consider the various ways you can customize your caramelized apples, enhancing your culinary repertoire. Enjoy this versatile dish, whether sweet or savory!


